How to Cut Cove Molding
•
1 like•8,207 views

http://mouldinginstallation.com/how-to-cut-cove-molding/
Recommended

Recommended
More Related Content
Featured
Featured (20)
How to Cut Cove Molding
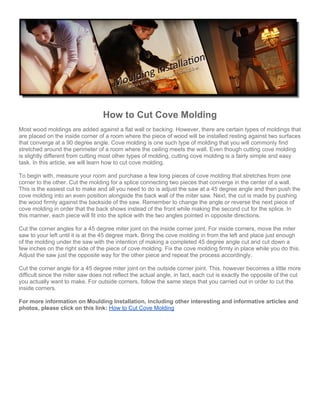
- 1. How to Cut Cove Molding Most wood moldings are added against a flat wall or backing. However, there are certain types of moldings that are placed on the inside corner of a room where the piece of wood will be installed resting against two surfaces that converge at a 90 degree angle. Cove molding is one such type of molding that you will commonly find stretched around the perimeter of a room where the ceiling meets the wall. Even though cutting cove molding is slightly different from cutting most other types of molding, cutting cove molding is a fairly simple and easy task. In this article, we will learn how to cut cove molding. To begin with, measure your room and purchase a few long pieces of cove molding that stretches from one corner to the other. Cut the molding for a splice connecting two pieces that converge in the center of a wall. This is the easiest cut to make and all you need to do is adjust the saw at a 45 degree angle and then push the cove molding into an even position alongside the back wall of the miter saw. Next, the cut is made by pushing the wood firmly against the backside of the saw. Remember to change the angle or reverse the next piece of cove molding in order that the back shows instead of the front while making the second cut for the splice. In this manner, each piece will fit into the splice with the two angles pointed in opposite directions. Cut the corner angles for a 45 degree miter joint on the inside corner joint. For inside corners, move the miter saw to your left until it is at the 45 degree mark. Bring the cove molding in from the left and place just enough of the molding under the saw with the intention of making a completed 45 degree angle cut and cut down a few inches on the right side of the piece of cove molding. Fix the cove molding firmly in place while you do this. Adjust the saw just the opposite way for the other piece and repeat the process accordingly. Cut the corner angle for a 45 degree miter joint on the outside corner joint. This, however becomes a little more difficult since the miter saw does not reflect the actual angle, in fact, each cut is exactly the opposite of the cut you actually want to make. For outside corners, follow the same steps that you carried out in order to cut the inside corners. For more information on Moulding Installation, including other interesting and informative articles and photos, please click on this link: How to Cut Cove Molding